How to set up your webcam home studio
So you decided to become an online video content creator. You will need to set up an environment that helps you to create videos in the best quality. Desktop device or laptop? Which is the best webcam? Do you need an extra microphone? What about lighting? Here are a few tips on how to choose the best equipment for your home studio. Let’s see this shopping list!
The computer
This will be the heart of your home studio. You will need a machine that runs all your software and connects the different accessories. Some experts would never buy anything less than a desktop device, and there are a lot of people who are avid fans of laptops, aka mobile devices. You will find affordable machines in both categories, but the price tag is not the only important factor here.
First, you need to decide what you want to use your computer for. Let’s see a couple of use-cases:
- webcamming only – a good fit for cheaper hardware
- gaming – A device capable of running the latest games can be really expensive, especially if you choose the mobile (laptop) option.
- video editing – If you plan to edit your high-quality videos, we also suggest to buy stronger equipment, as rendering the finalized movie can take quite long, if you do not have the necessary resources.
For adult entertainment, both the ‘webcamming only’ and ‘video editing’ options are viable. The most trendy solution is the Apple MacBook, which is, however, one of the most expensive options. (Go with the PRO version if you plan to edit videos too.) In case you are looking for a budget-sensitive decision, you can take a quick look on Amazon – the career essentials option will be a good choice.
And why a laptop instead of desktop devices? Maintaining your content provider profile will take a lot of work that can be easily done while on the road. The desktop hardware is not meant for that, so to become a digital nomad it is best to go with a laptop.
Camera
Many laptops have a great camera for standard video chats or conference calls. However, the built-in ones do not have the necessary zooming capabilities, not to mention that you can only adjust their angles by moving the whole laptop.
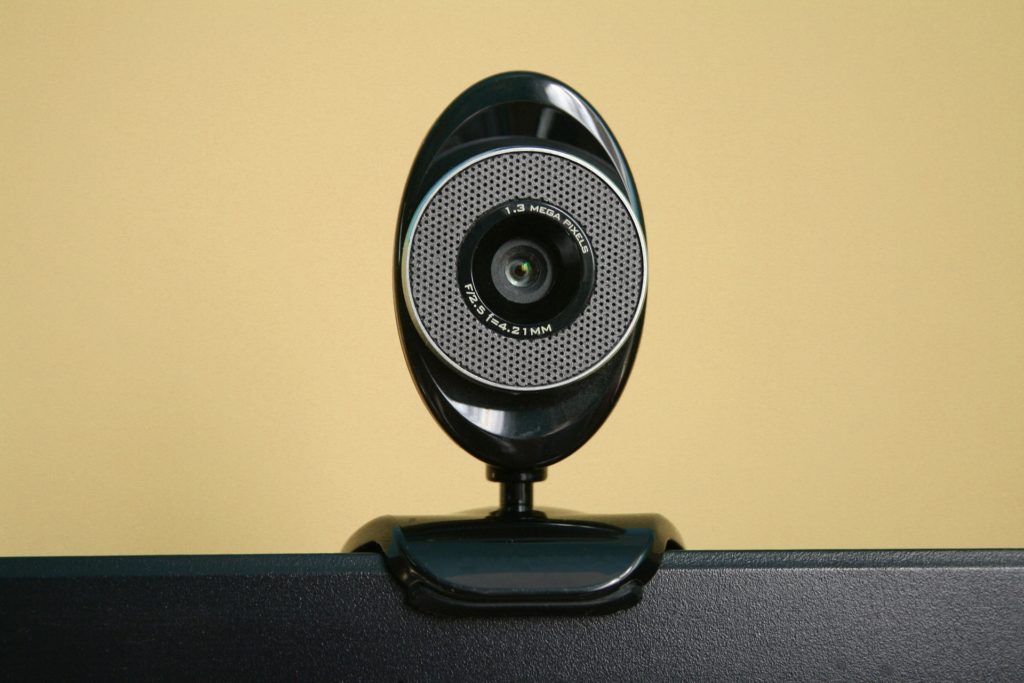
Most of the YouTubers and adult content creators nowadays use separate cameras, which make them able to create even 4k resolution videos. (It means that your video will be good lookin’ even on the newest flat TVs.)
I would say that the absolute minimum is an HD-compatible webcam that is around 50-60 USD (e.g. 2020 1080p webcam, or the HD Webcam 1080p on Amazon). It records mesmerizing videos and is a great part of the starter kit. If you are looking for a professional solution, you can buy a digital camera (e.g. Canon EOS 4000D DSLR) from around 300 USD. Don’t forget to buy a stand that fixes your camera in the right angle and height. Before purchasing the stand, you need to know how many angles you would like to use the camera from. If you are an adult performer, the most used camera position will be in front of the bed.
Microphone
The decision should be based on how high you want your sound quality. Any laptop (with a webcam) has a built-in microphone which is sufficient enough for video calls. If your video content is aiming for the corporate/home office level, then you might not even need any separate microphones.
If you plan to create podcasts, or any kind of videos, in which your voice plays a significant role, you have two options:
- headset with a microphone (which probably won’t look that good on the video)
- a separate microphone with a mic stand
The latter looks simply much better on-screen and, of course, can produce much higher audio quality, which goes well with HD (or 4K) videos. My suggestion is to start with a microphone that comes with an adjustable stand and a noise filter. The filter is necessary to avoid recording crackling chair sounds or the neighbour’s barking dog.
There are also small microphones that remain almost invisible and can be applied onto your clothes via a clip. The advantages are clear: gives you higher mobility as you won’t be forced to be around your mic stand, records only your voice, and it is barely visible. The downside is that you need to have a transfer device that will use radiofrequency waves to get your voice to the laptop. If you are an adult performer, there might be certain parts in your feed, where you will lack of clothing to clip these devices to.
Lighting
Even the best camera equipment cannot produce great quality if the room is dark. On the contrary, proper lighting can save your video even when it is recorded with a low-quality webcam. Fortunately, there are quite a few options to start with!
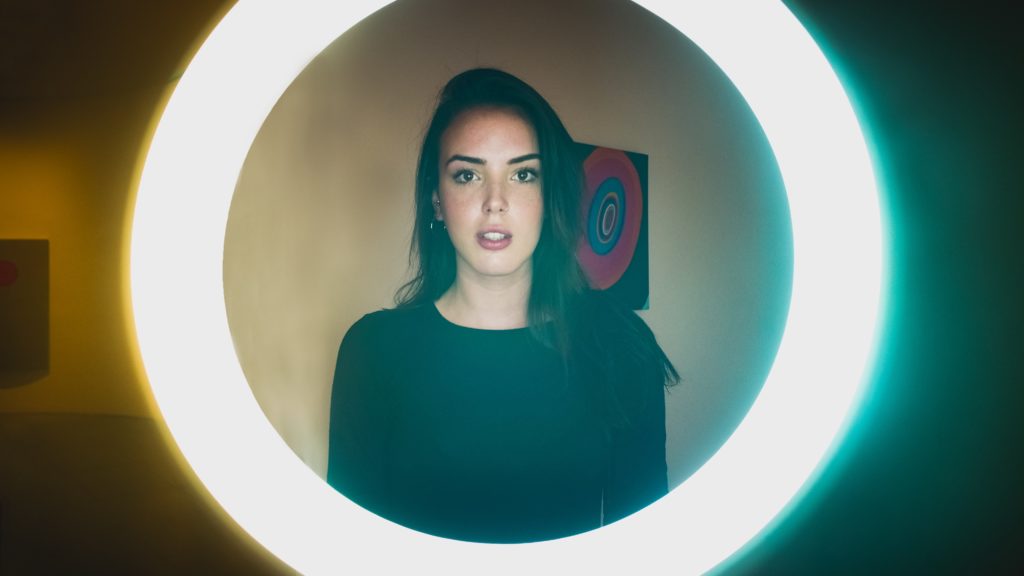
- Round LED lights (ring lights): The lighting that creates glowing circles (rings) in your eyes making them more vivid looking. It is used for close-up – the best fit is for make-up videos. This lighting technique can be a little too harsh and can over-expose the face. There are a few models with adjustable colour temperature.
- Umbrella lights: The bulbs are pointed towards the umbrellas that scatter light and make the video content look much better and younger (scattering light won’t create extra shadows around wrinkles and won’t highlight skin imperfections). You should aim for having at least two to avoid half-sided lights (many of them come in with multiple lights as kits). They are popular for shooting, though their downside is that the bulbs are very bright, and looking into these lights can make you uncomfortable.
- Softbox lights: The lights are directed toward the model, however, the bulbs are not directly visible, rather covered with a thick, white, semi-transparent layer. The softboxes are designed to aid the camera’s flashes and create extra light and shadows to make pictures more interesting.
- Camera lights: Many LED lighting boxes are easily attachable to your camera and also provide enough light for your shooting needs. They are very easy to set up because you only need to put them on top of your camera, whereas the other, separate lighting techniques need probably 20-40 minutes of preparation (to catch the best angles). Its disadvantage is that it can make looking into the camera difficult when setting up as too bright.
The best solution is to check the room with a single, separate camera and customize lighting according to your content. Ring lights for close-ups, softbox sets for larger shoots. The right configuration and set up can vary based on the room’s natural lighting, the shot’s scale, the number of people involved, and even their clothes or skin tone. As for financials, you can count with around 70 USD for a great starter lighting.
The truth is that even the best content creators started with budget-sensitive options: a small camera, simple lighting, and a cheap laptop. What really makes a difference is what you do with it. The most important factor for quality content is You!


